Spiral Dungeon
Introduction
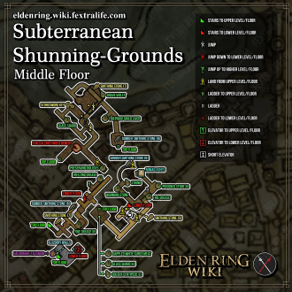
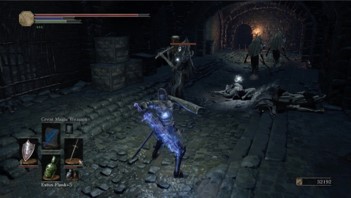
In this project, I designed a four-level spiral dungeon, drawing inspiration from games like Dark Souls, Elden Ring, and Diablo. My primary reference was the Subterranean Shunning-Grounds from Elden Ring, which I consider one of the most intricate and challenging areas to explore in the game. What makes it stand out is the vertical expansion added to an already complex layout. Each layer is interconnected, creating a highly detailed and three-dimensional environment that makes it difficult for players to find the correct path.
Level Design
Top Level
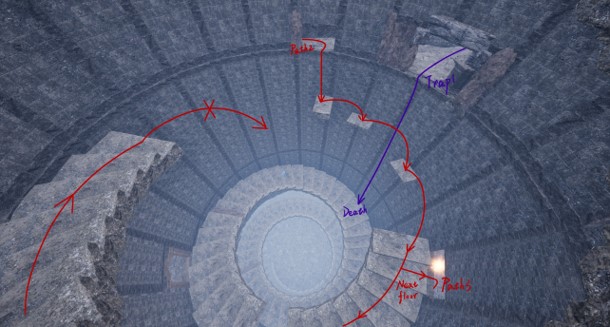
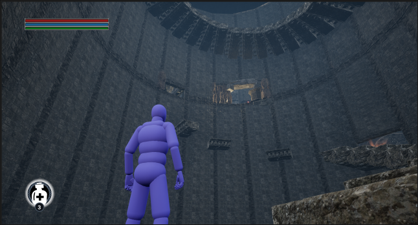
At the top level, players cannot descend using the spiral stairs in the usual way. Instead, they must use the gap on the right side of the layout or the incomplete stairs on the left to reach the next level. An elevator on the far left connects all four levels of the dungeon, but it remains locked until players obtain the elevator key and unlock it at the bottom level.
There are no essential items on this level, but players must remain vigilant as enemies are hidden behind obstacles throughout the area.
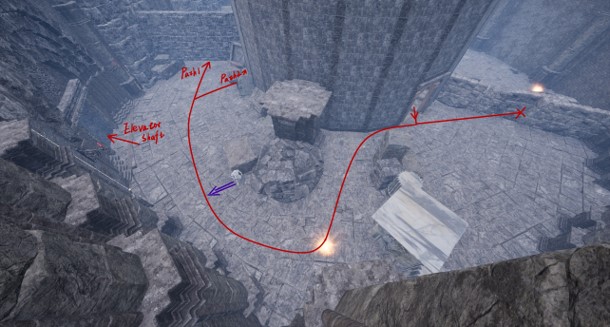
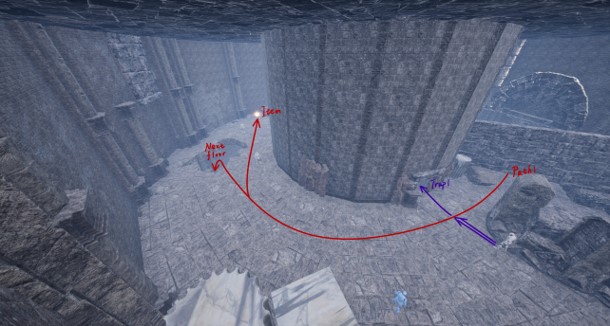
When players first enter the top level, they will find the right path blocked by a wall, forcing them to go left. Following this route, they will encounter the elevator shaft, but the elevator can only be activated from the bottom floor. Attempting to enter the elevator at this point will result in a fall to the bottom floor, leading to immediate death.
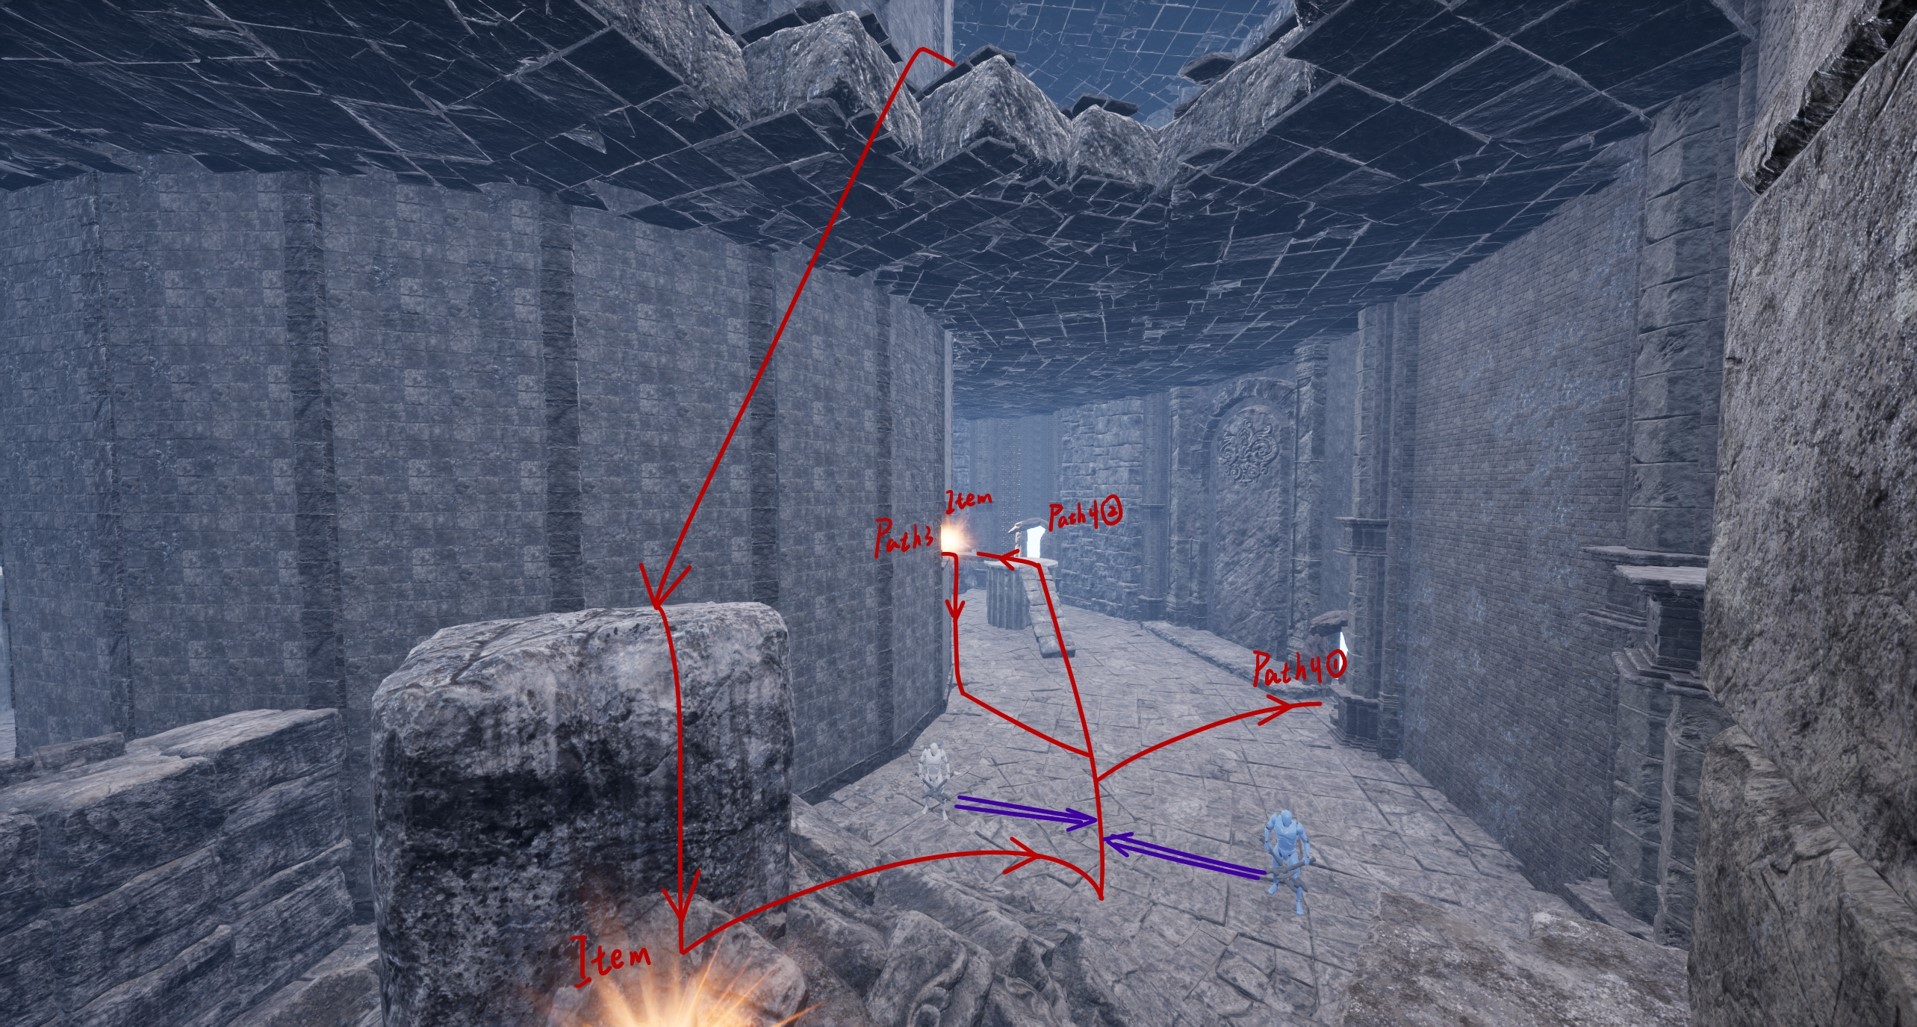
There are two paths: Path 1 is the regular route of progression, while Path 2 is a hidden shortcut. However, the entrance to Path 2 is mostly obscured by rocks, making it difficult for players to spot under normal circumstances. Taking this shortcut allows players to bypass most encounters.
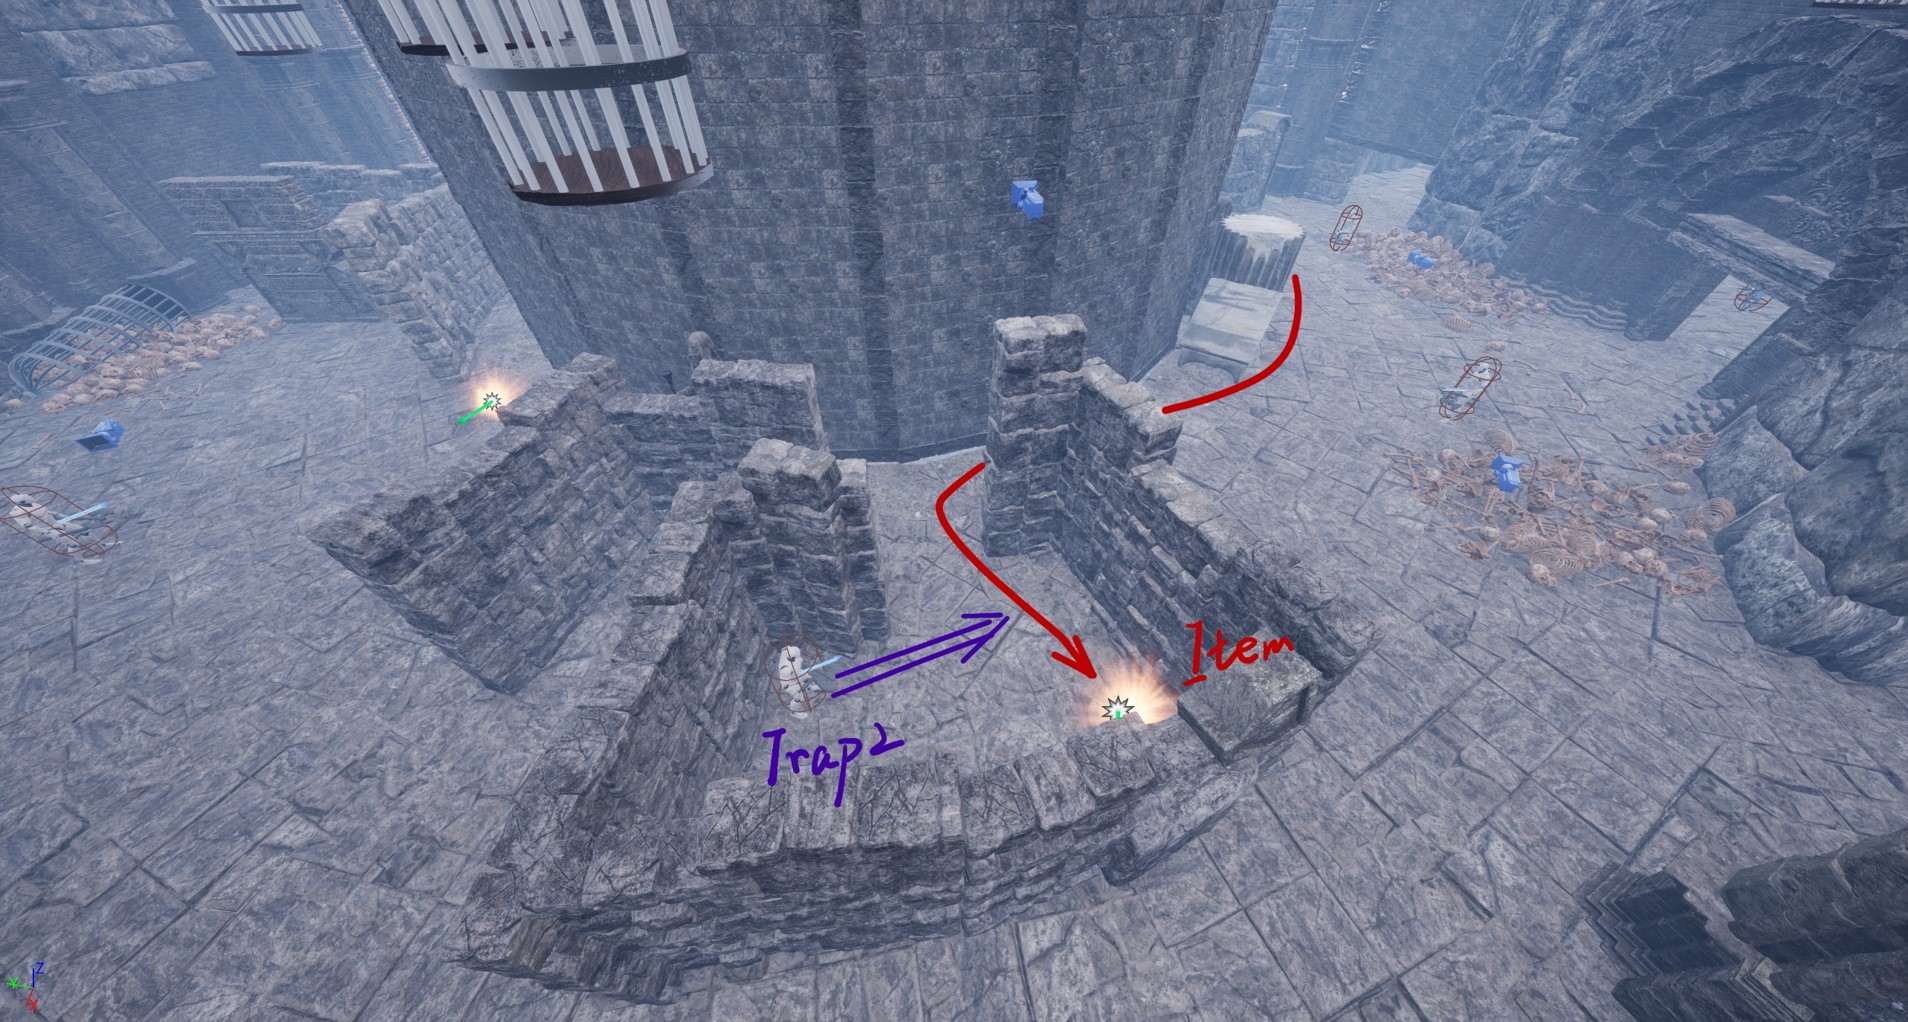
Continuing along Path 1, players will come across a gap in the inner wall (Trap 1). As they approach to investigate, hidden enemies will ambush them from behind, pushing them into the gap and causing a fatal fall.
Due to the ruined stairs from the top level to the second floor, players must descend using the gap on the top level to proceed to the second floor.
Second Level
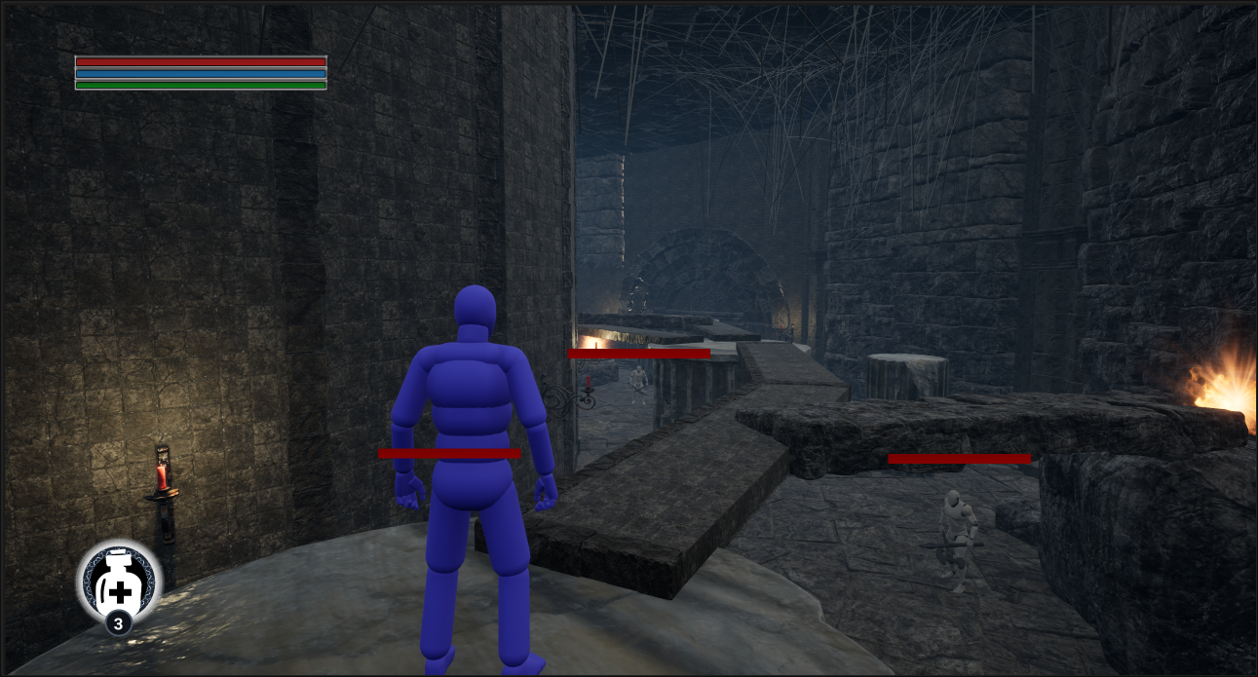
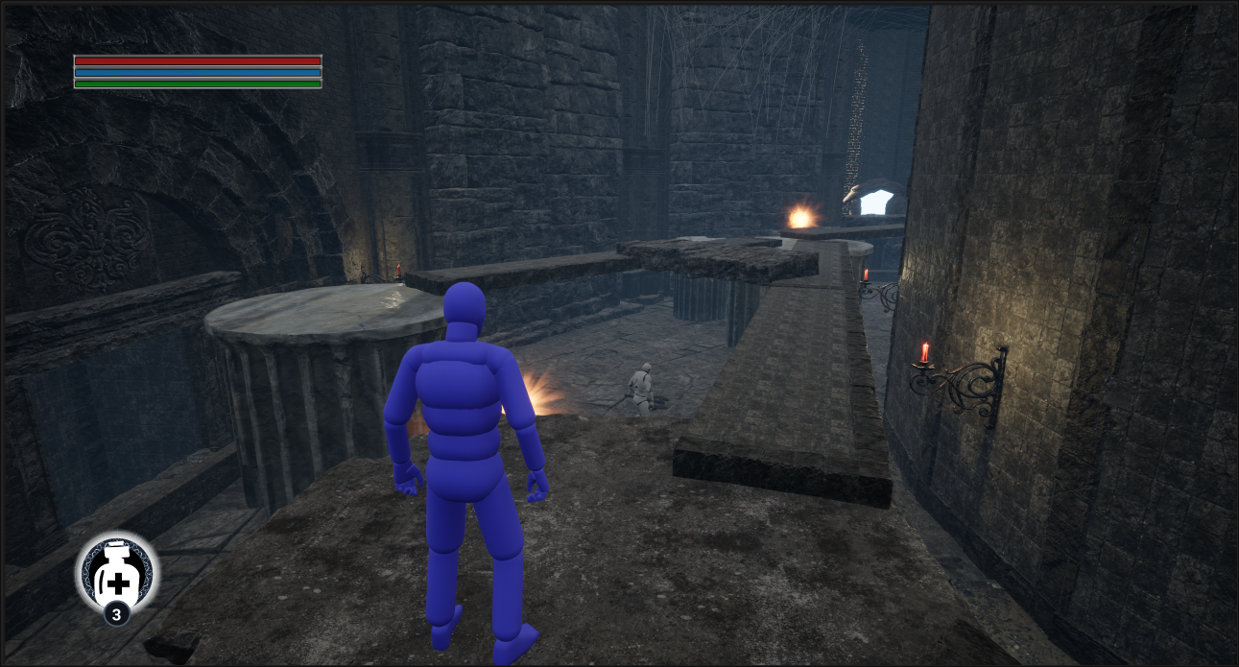
On the second floor, players can use the spiral stairs to descend directly to the next level. However, most of the ground here is covered in poisonous mud. Walking on the mud slows players down and gradually builds up poison, putting them at risk. Additionally, some monsters lurk within the mud, so players must remain cautious as they move through the area.
On this level, players can obtain a crucial item needed to initiate the boss battle, making it the most important item on this floor. After entering the second floor through the ruined stairs, players can either choose to avoid battles with elite monsters or try to attack them from behind for a tactical advantage.
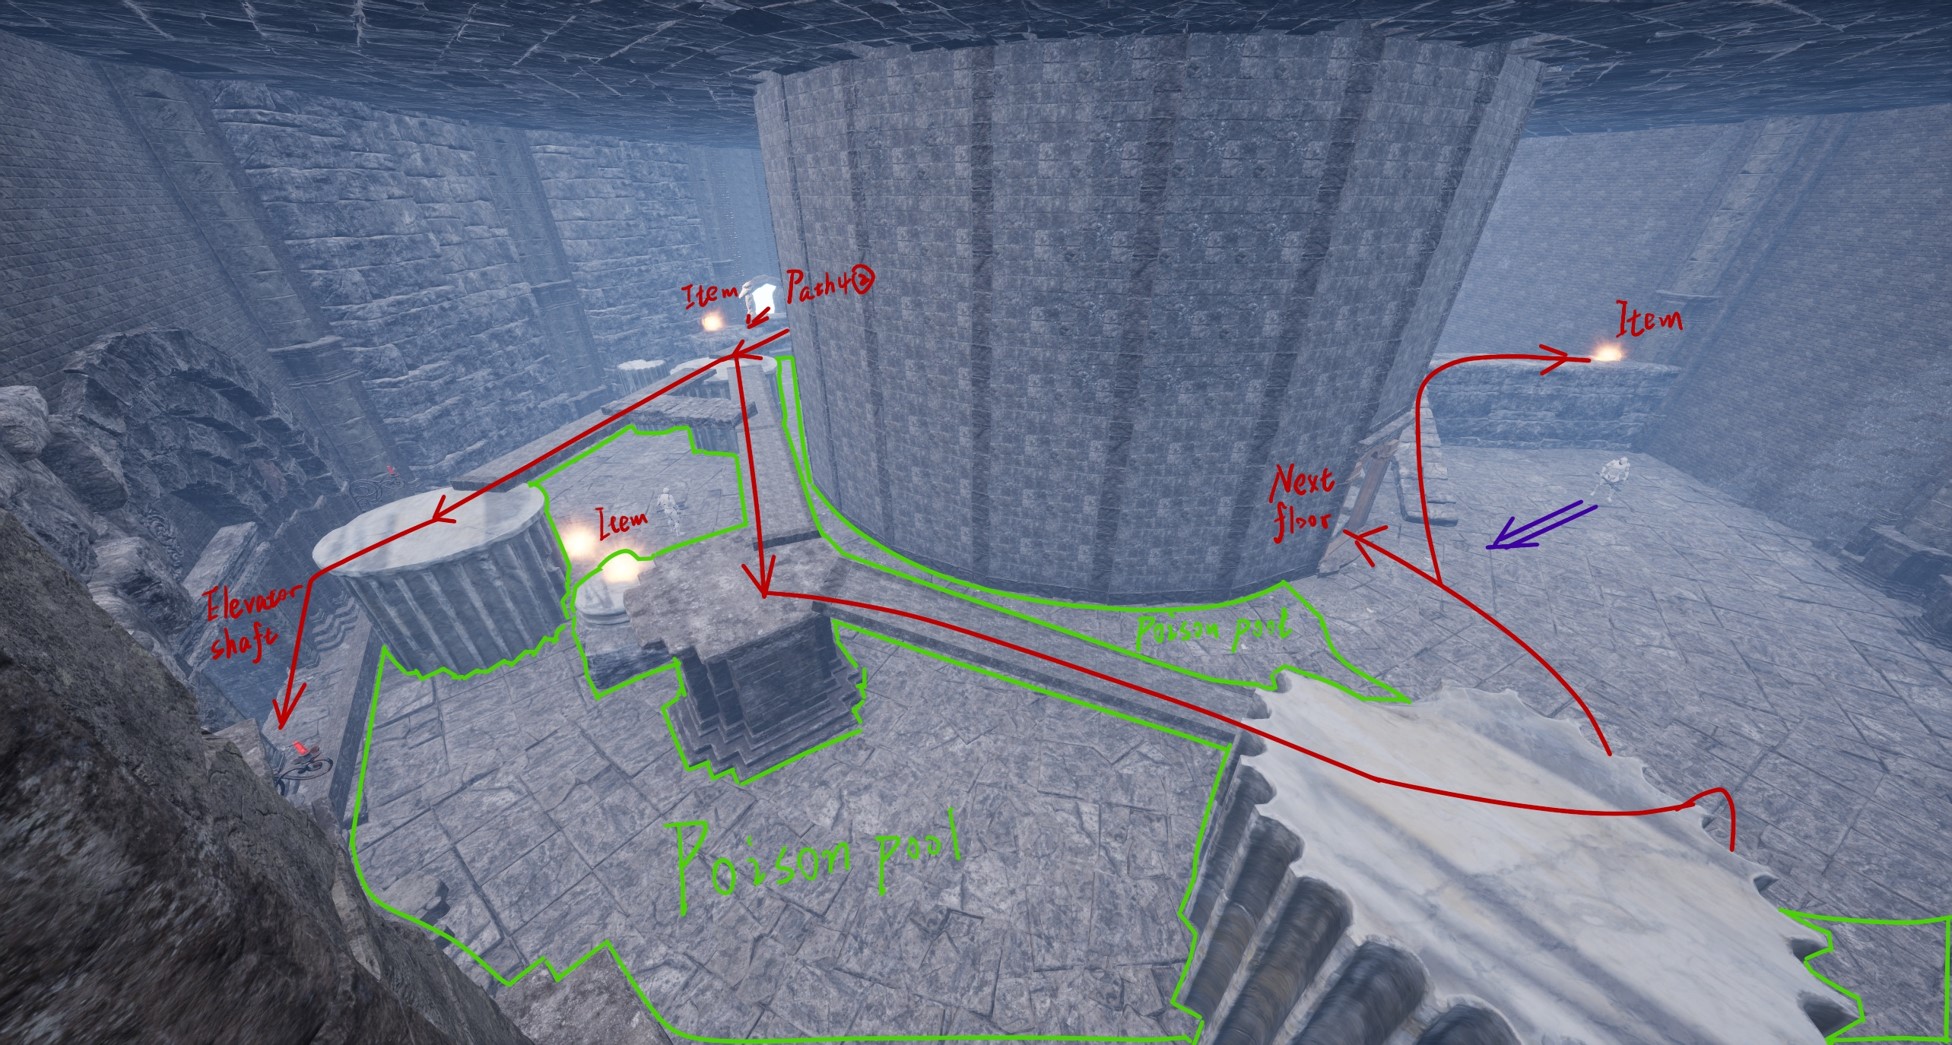
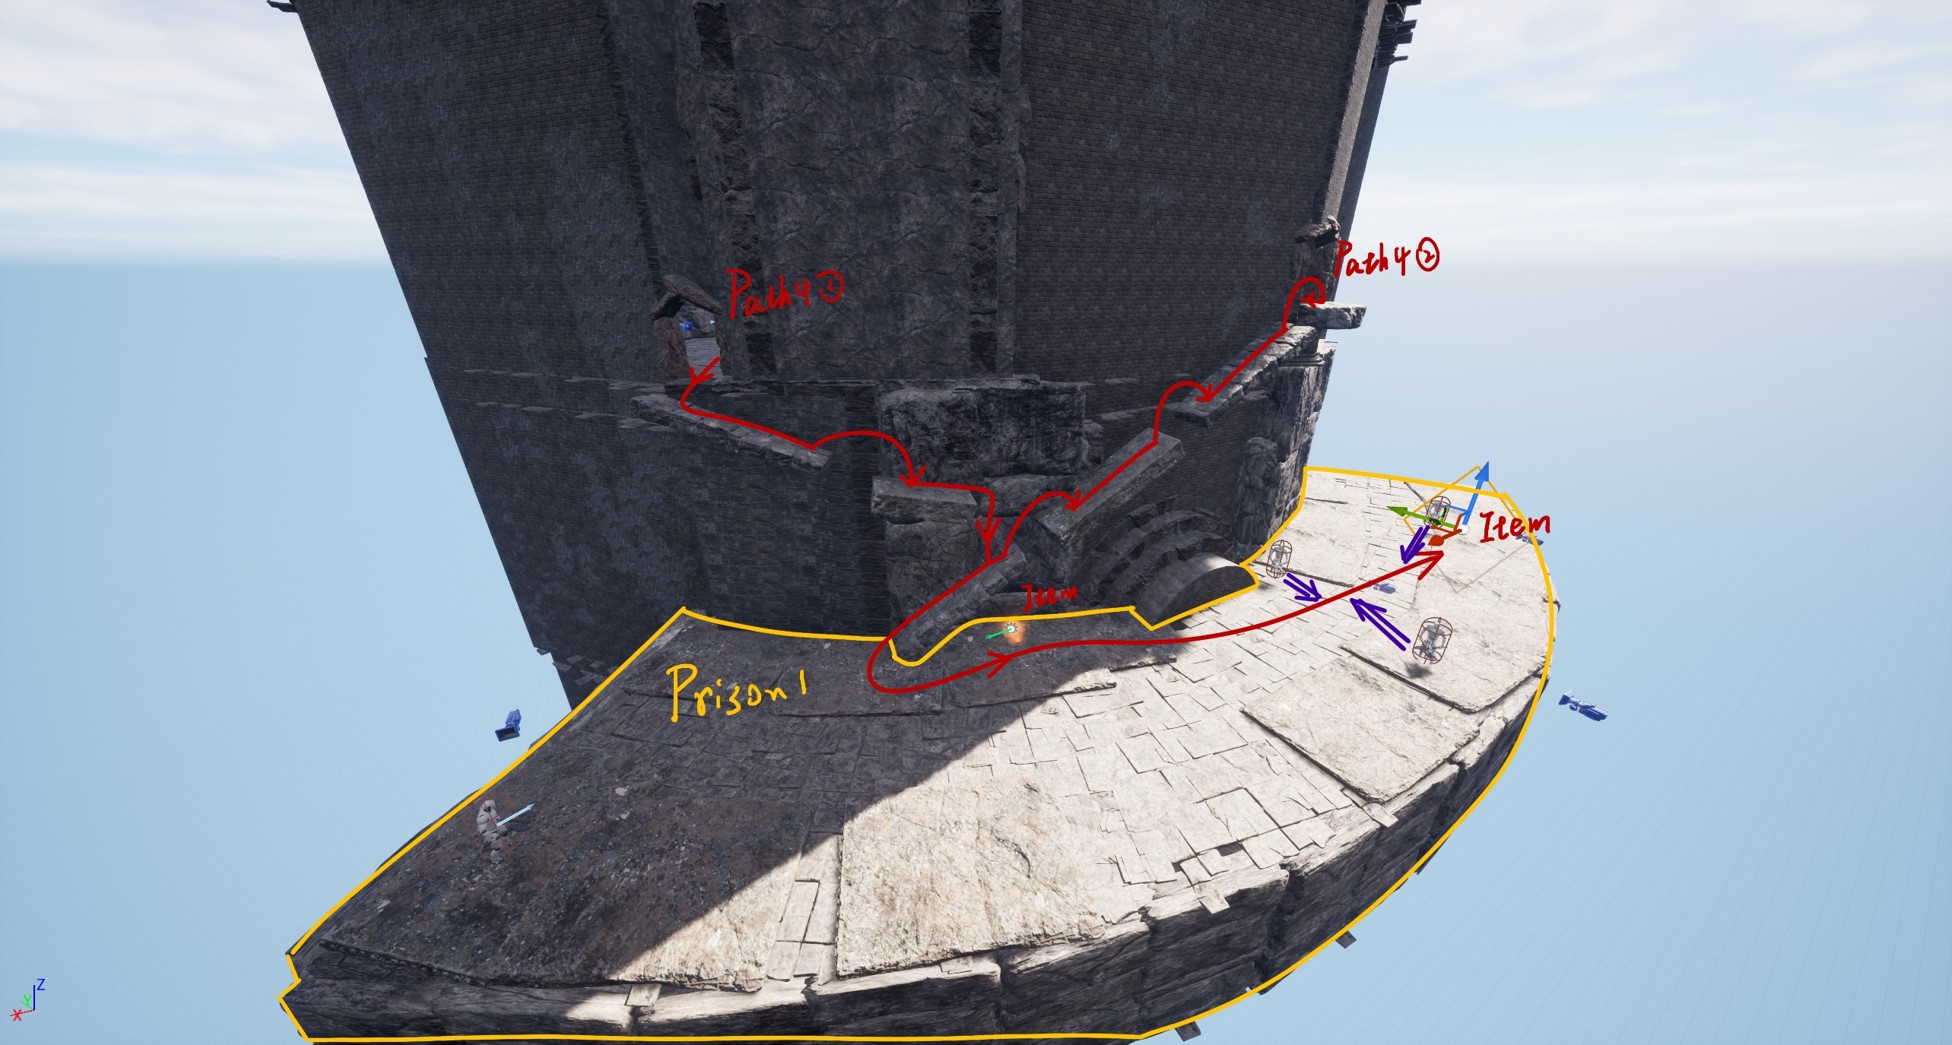
By continuing along Path 2, players can reach the second floor through Path 3, bypassing two powerful enemies located below the gap on the top level. Upon entering the second floor, they will encounter Path 4, which leads to the exterior of the main tower. This area is built above Prison 1 on the third floor and contains formidable enemies and valuable items, though it is not part of the main progression route. Players can choose whether to explore this optional area or continue forward inside the main tower.
Most of the second floor’s surface is covered in poisonous mud. Players can either cross the venom pools directly, risking continuous poison buildup, or navigate the path formed by the remnants of relics scattered within the pools. While this safer path avoids poison damage, it limits movement direction and may prevent access to certain items.
Third Level
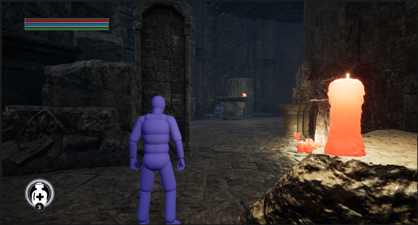
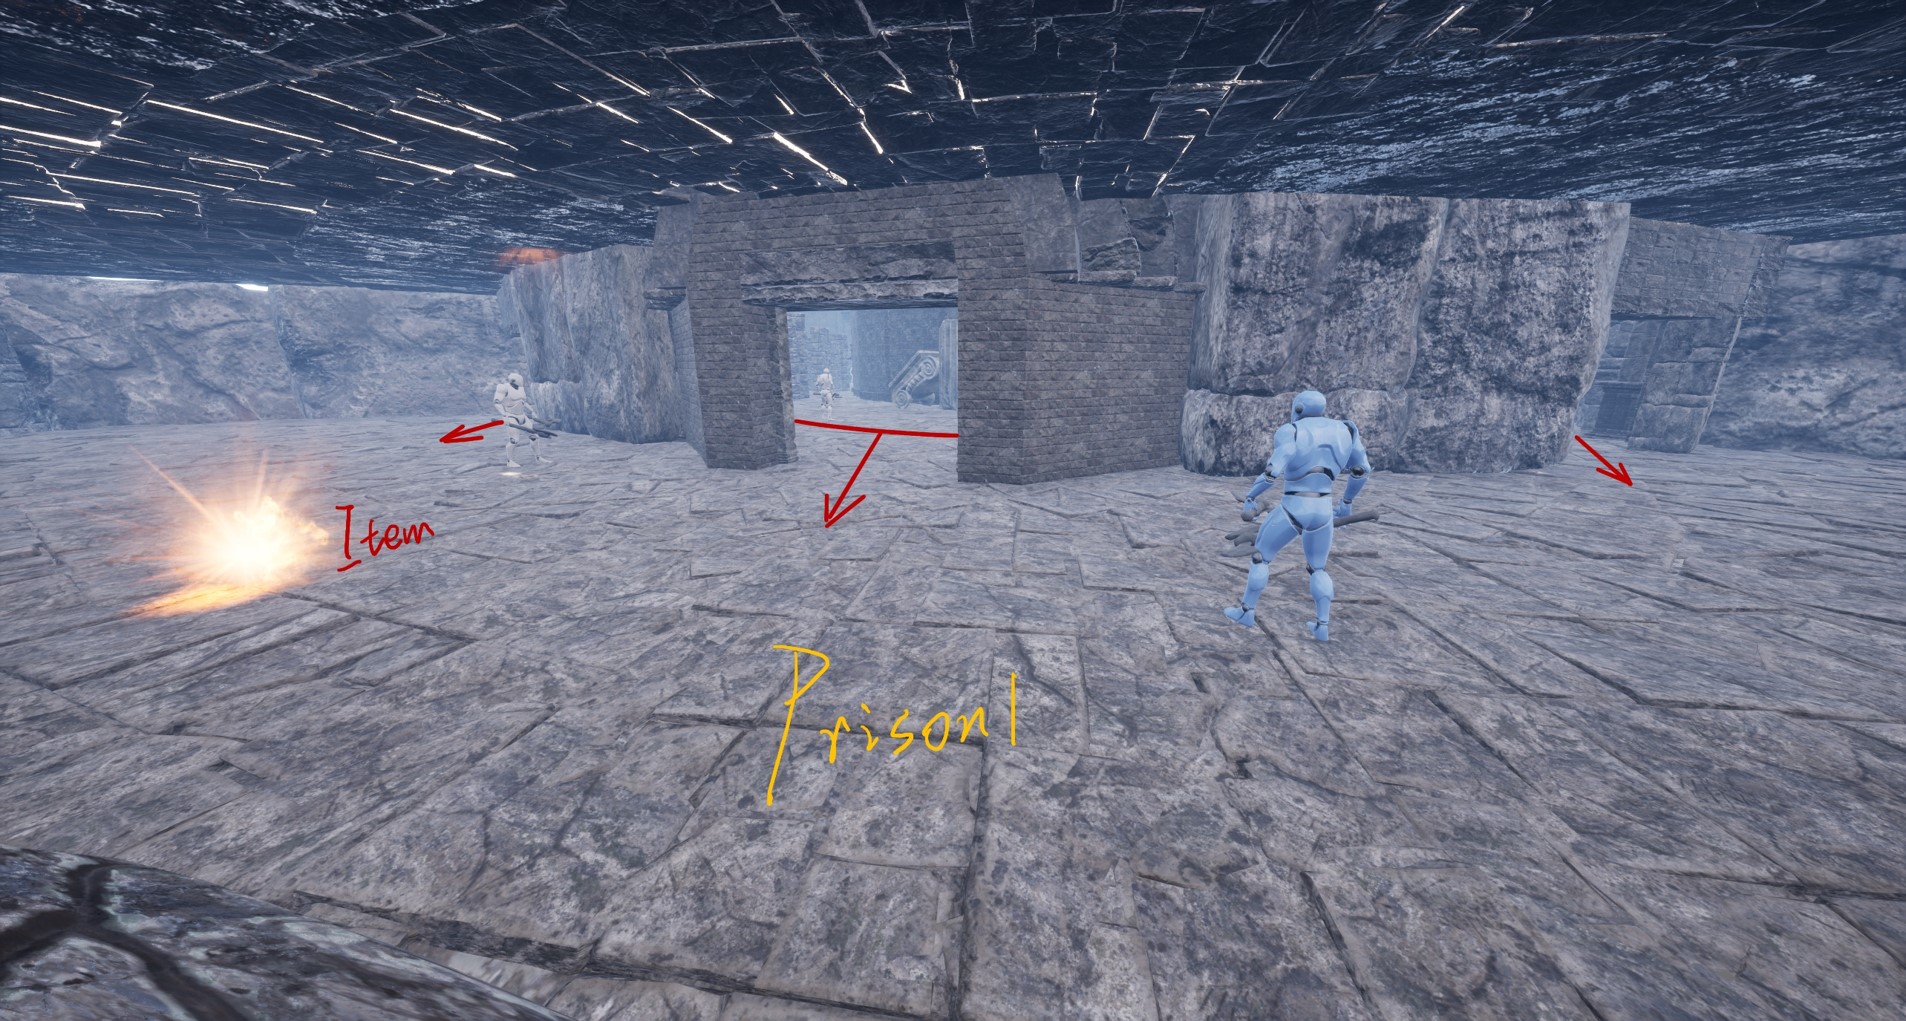
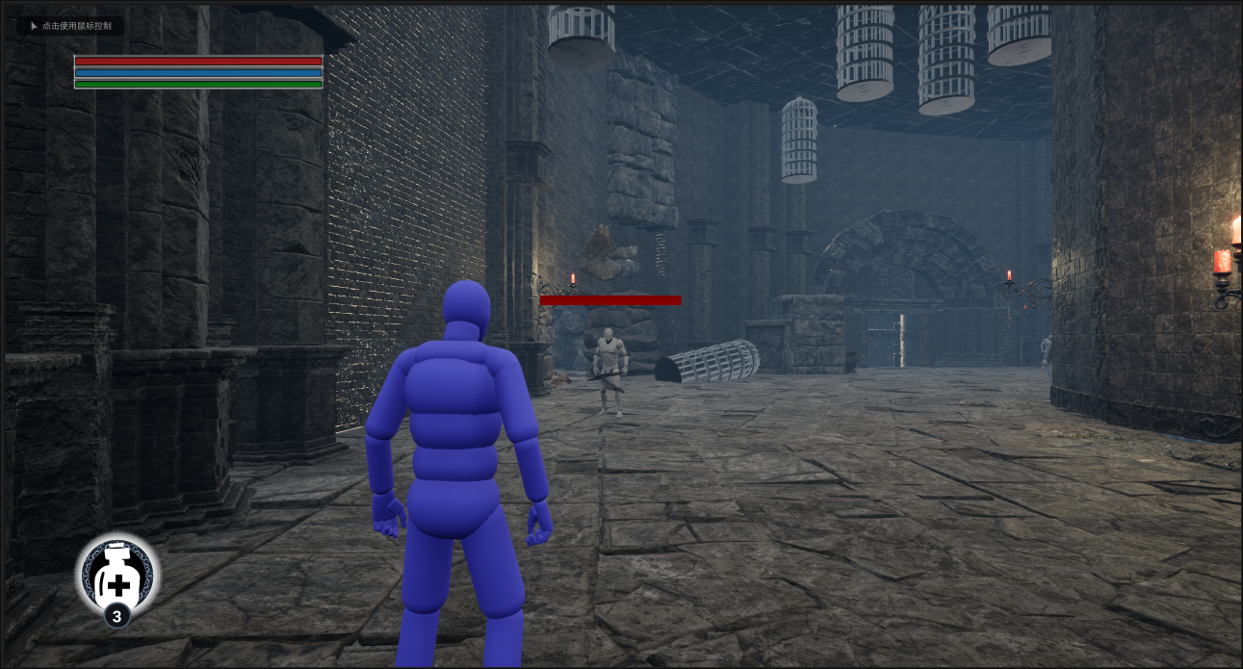
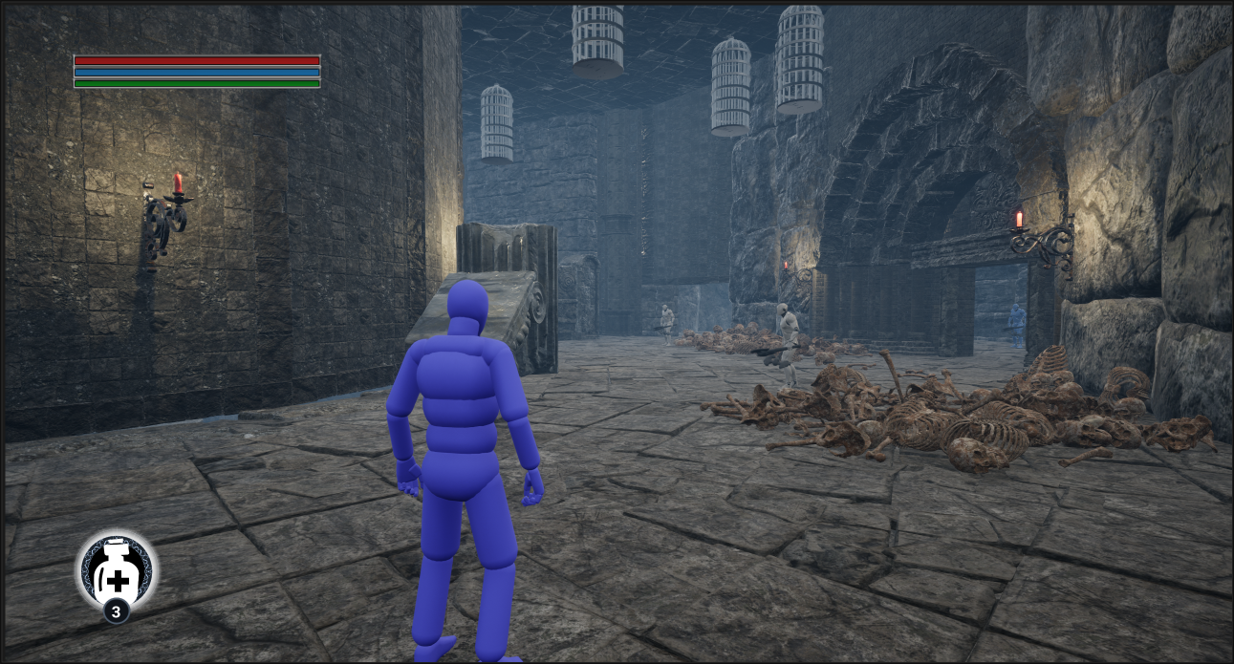
On the third floor, players can use the spiral stairs to descend directly to the next level. This floor is notable for its three prisons: two small ones and a large one. The enemies inside these prisons are especially powerful, but the rewards for defeating them are substantial. The main areas of the floor are filled with various obstacles and items, requiring players to stay alert for hidden enemies.
A key item on this level is the elevator room key, which is necessary to unlock the elevator on the bottom floor. This key is crucial for progressing through the dungeon.
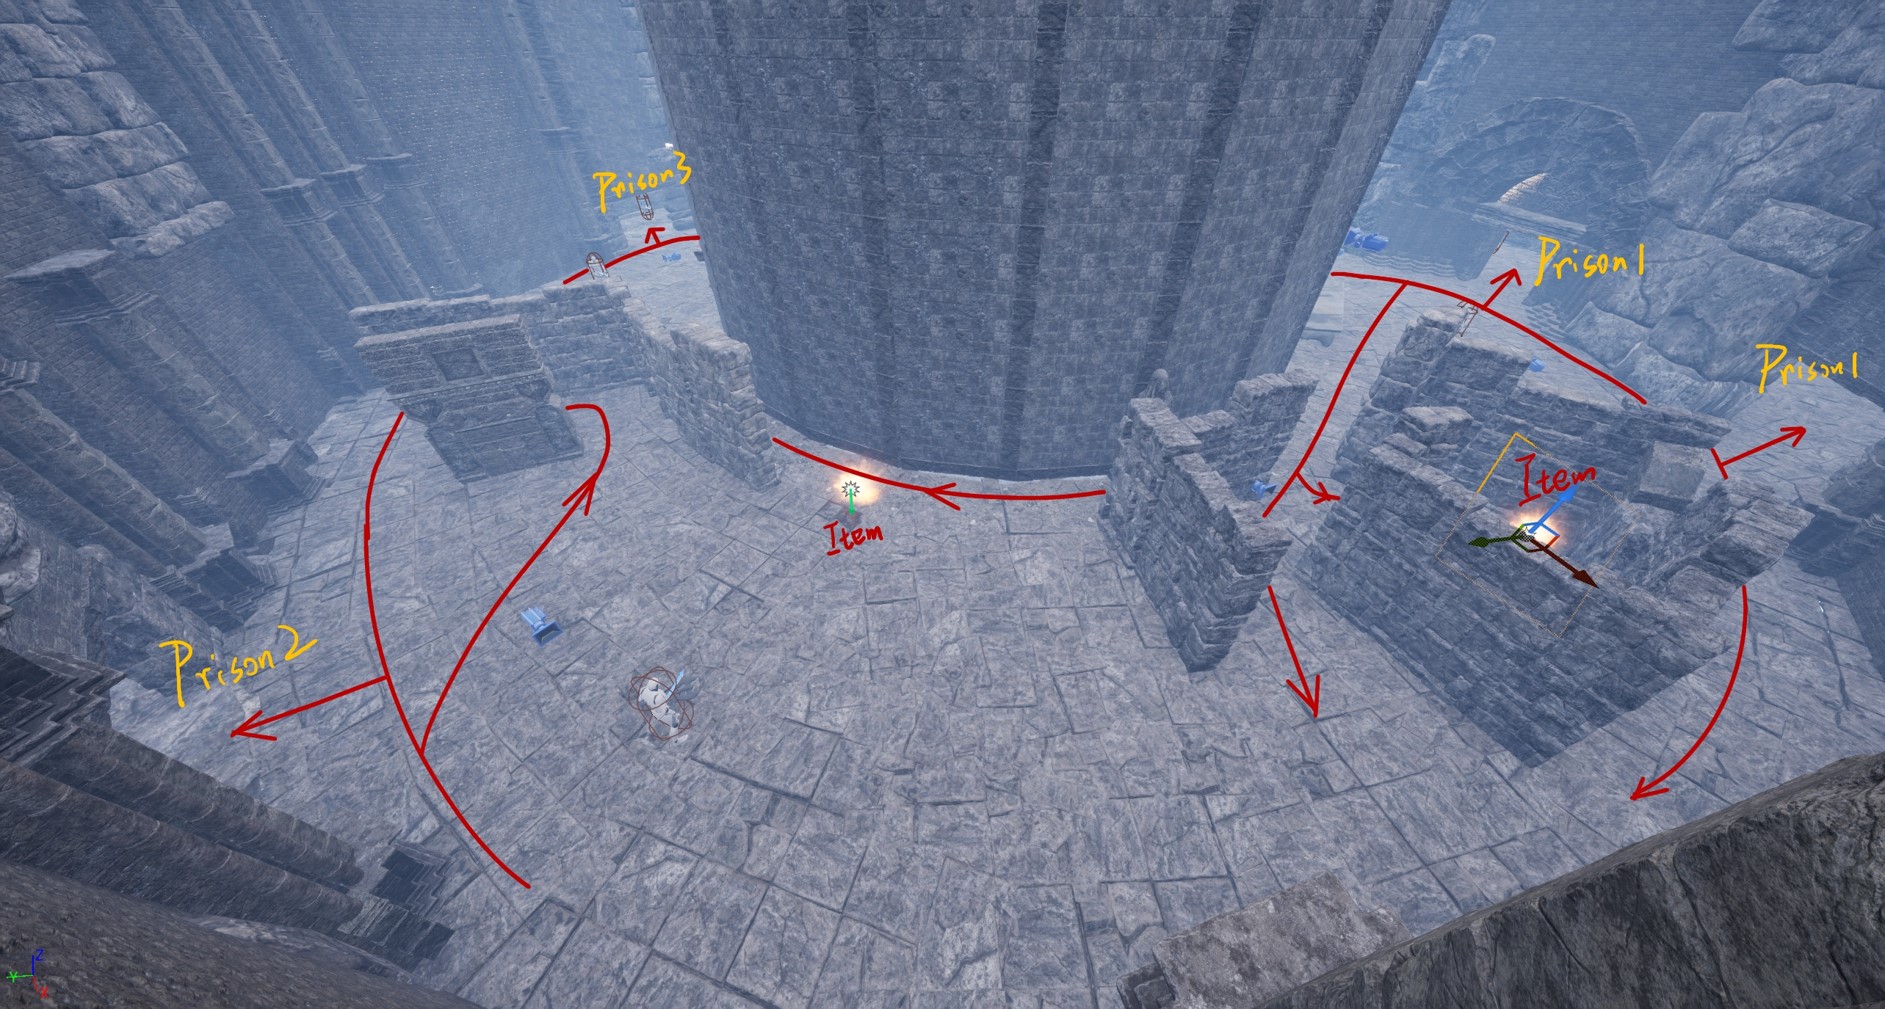
The interior area of the main tower on the third floor consists mainly of stone wall corners. While some items can be found in these corners, prison guards often lurk nearby, so players must be cautious when collecting items to avoid surprise attacks.
The exterior area of the third floor is dominated by three prisons. Some of the prison gates require players to defeat specific guards in order to obtain the keys needed to open them.
Bottom Level
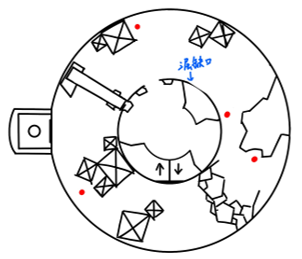
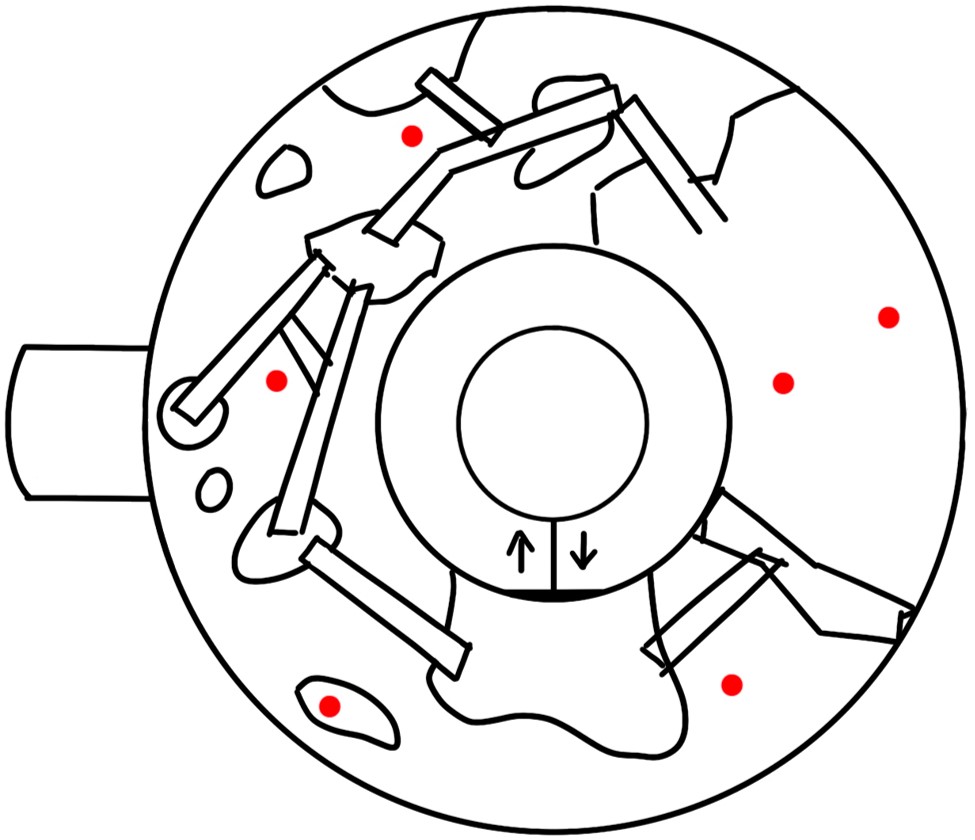
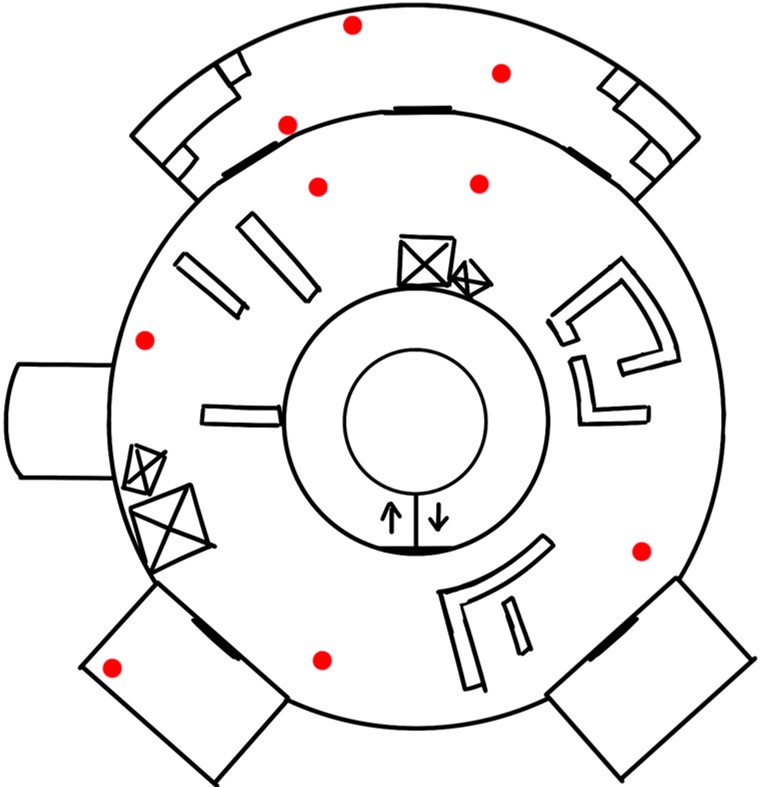
The bottom level is the boss battle arena. To summon the boss, players must place the item obtained on the second floor into a special device located on the right side of the area (as shown in the sketch). The room on the left side of the sketch is the elevator room.
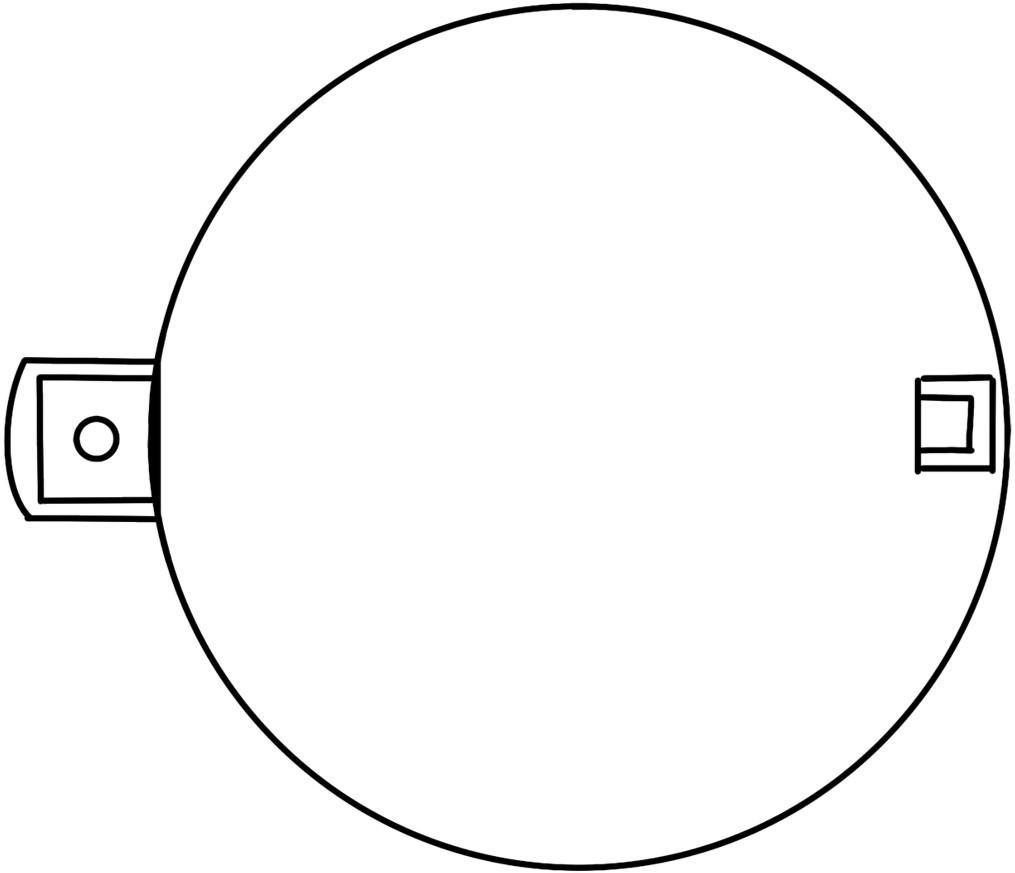
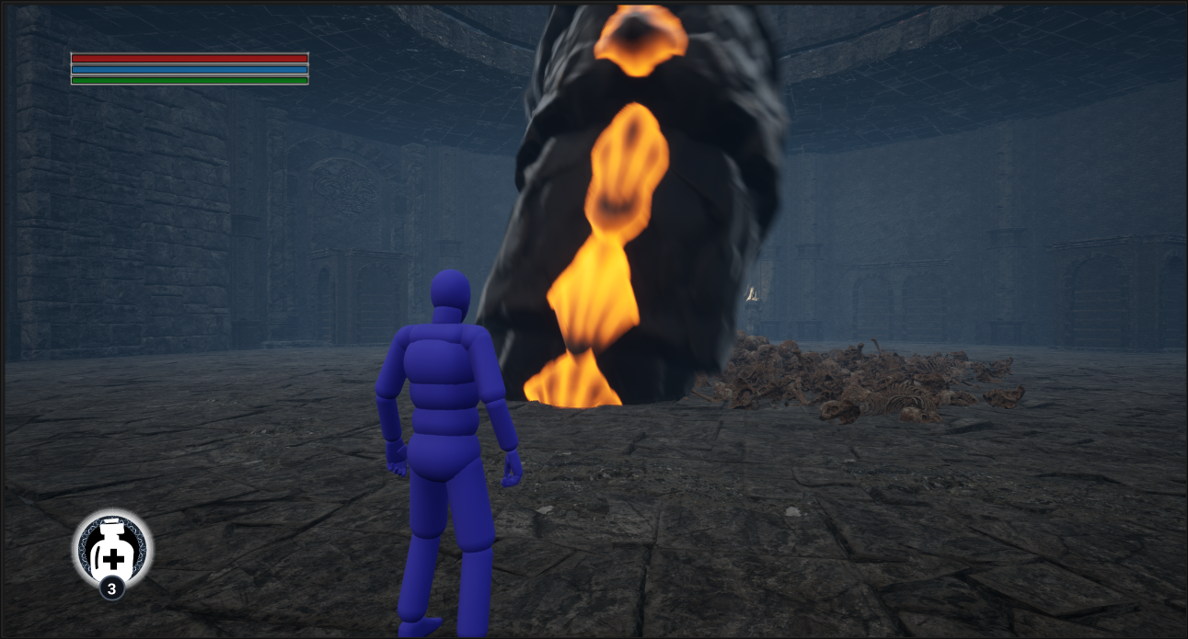
The bottom level is the boss room, offering a spacious area that gives players more maneuvering space during the battle. After activating the device on this level, a giant worm emerges from the depths. Players must then engage in battle with the worm.
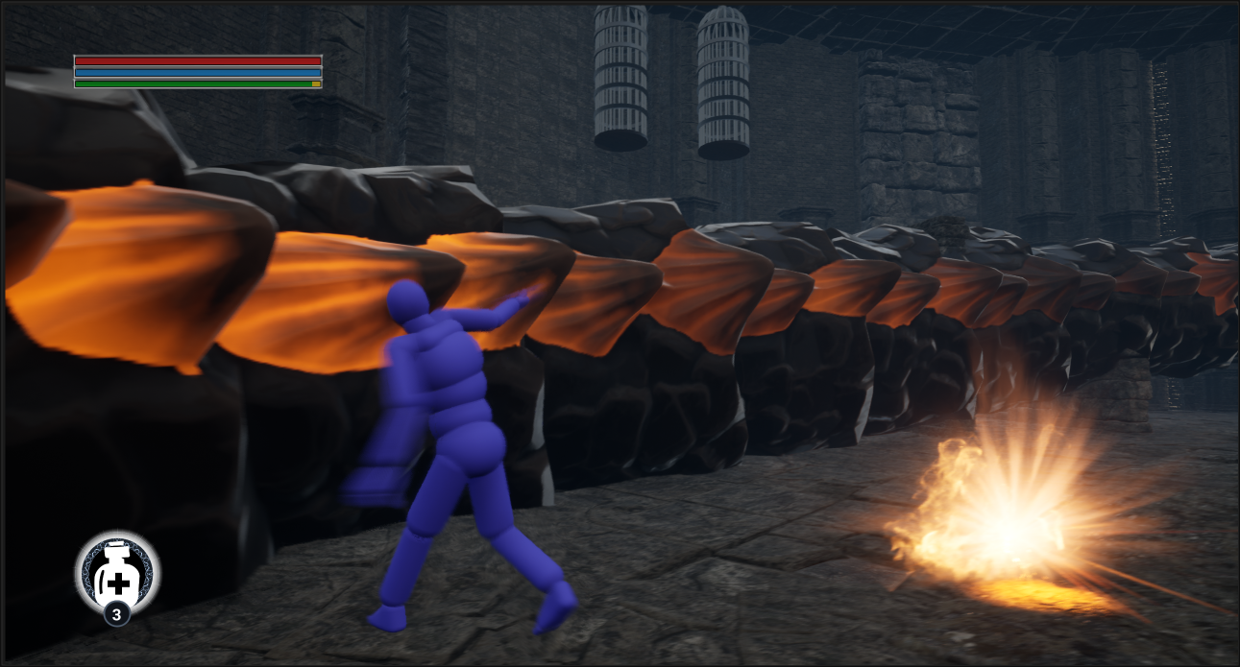
When the worm’s health is reduced to a certain point, it will ascend to the upper floor, destroying the ground on the bottom level and causing the player to fall into the abyss. In this situation, players must climb up the worm’s body to reach the upper floor and continue attacking its core to defeat the monster.
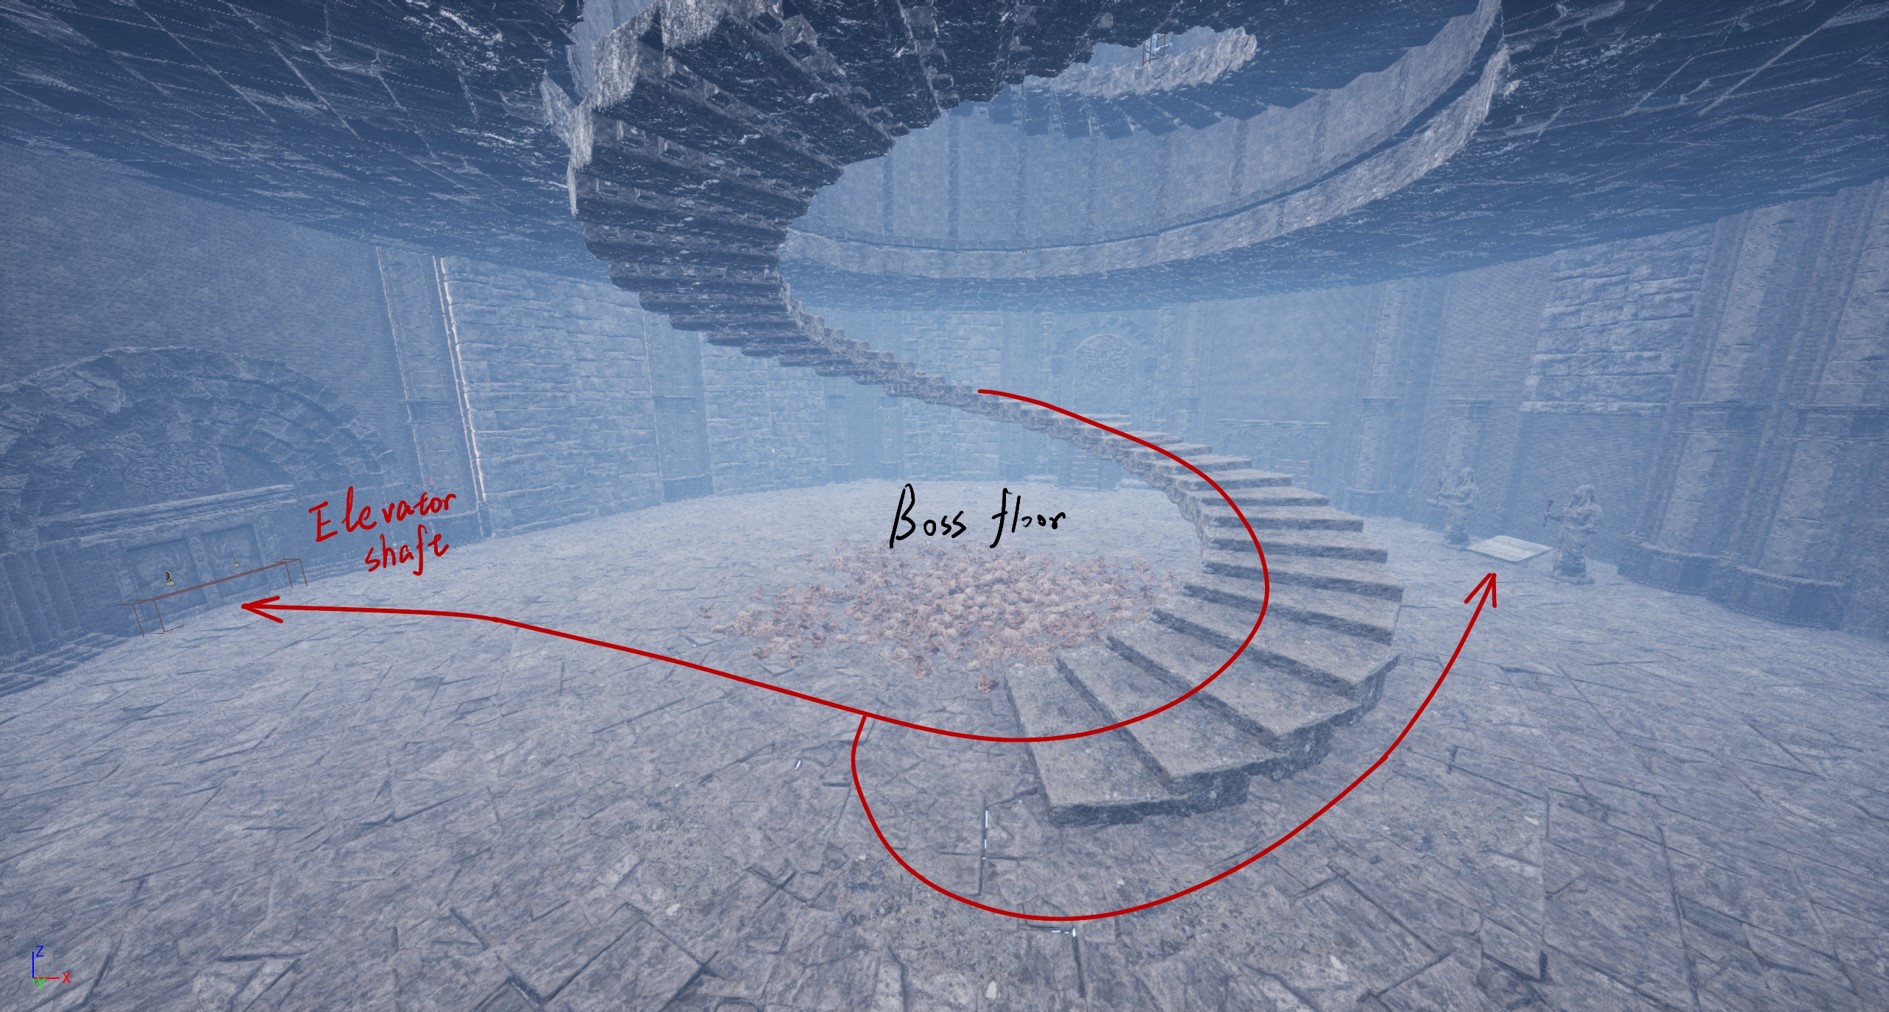
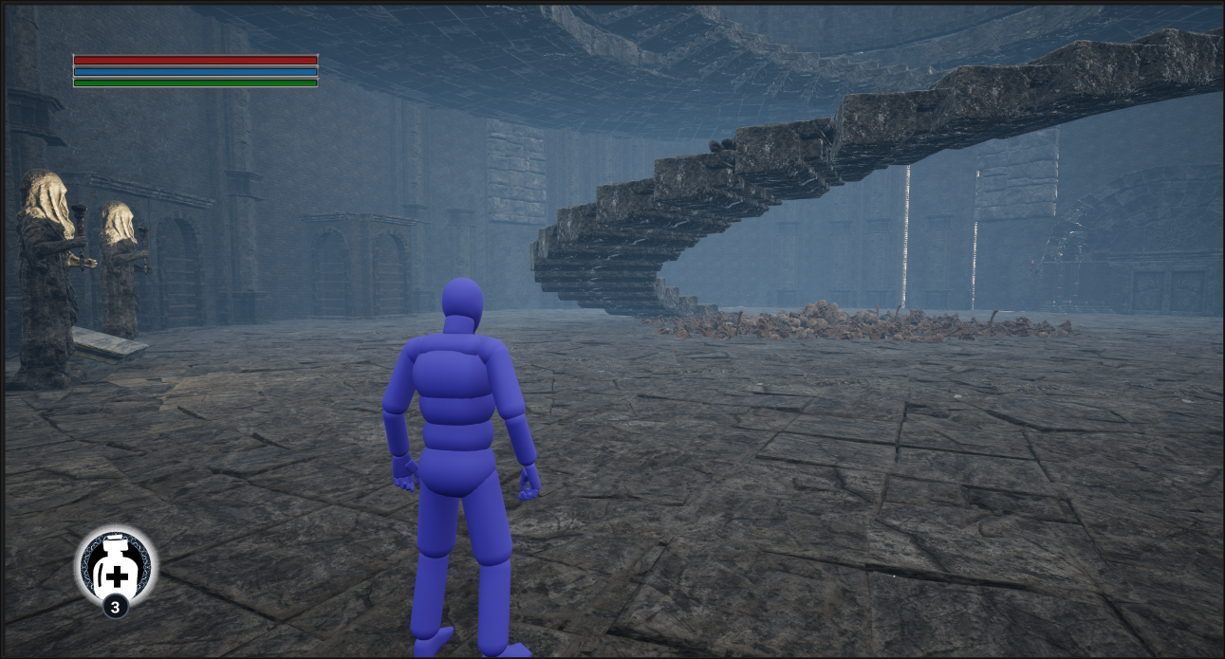
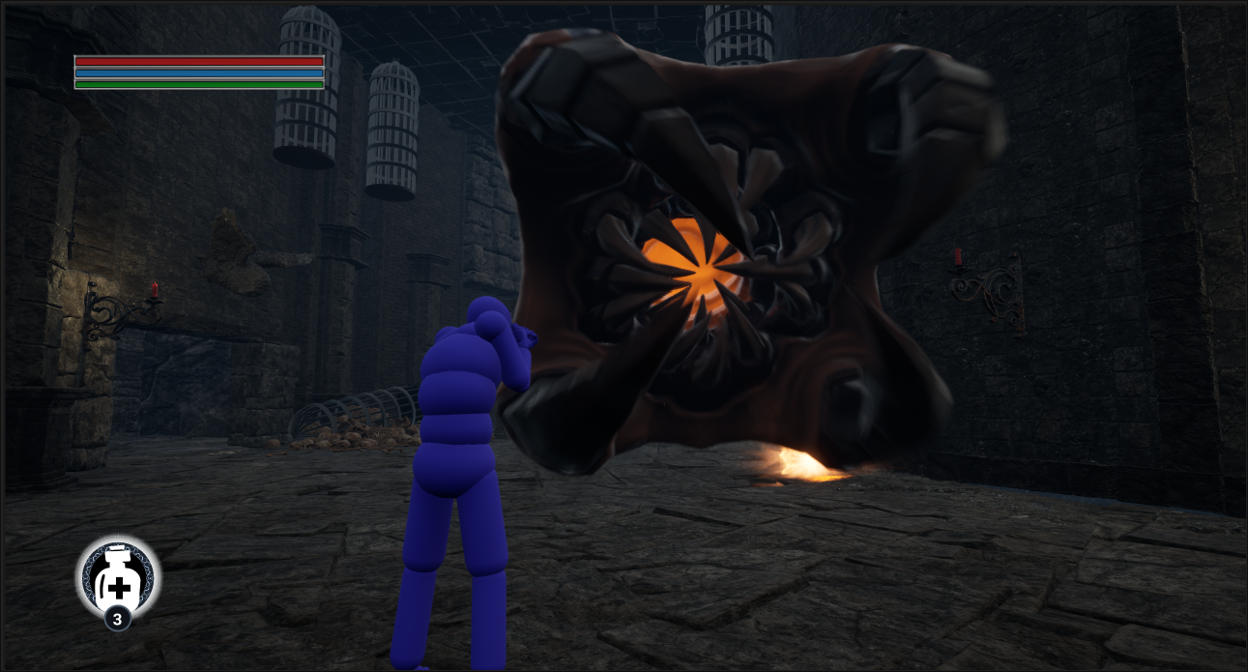
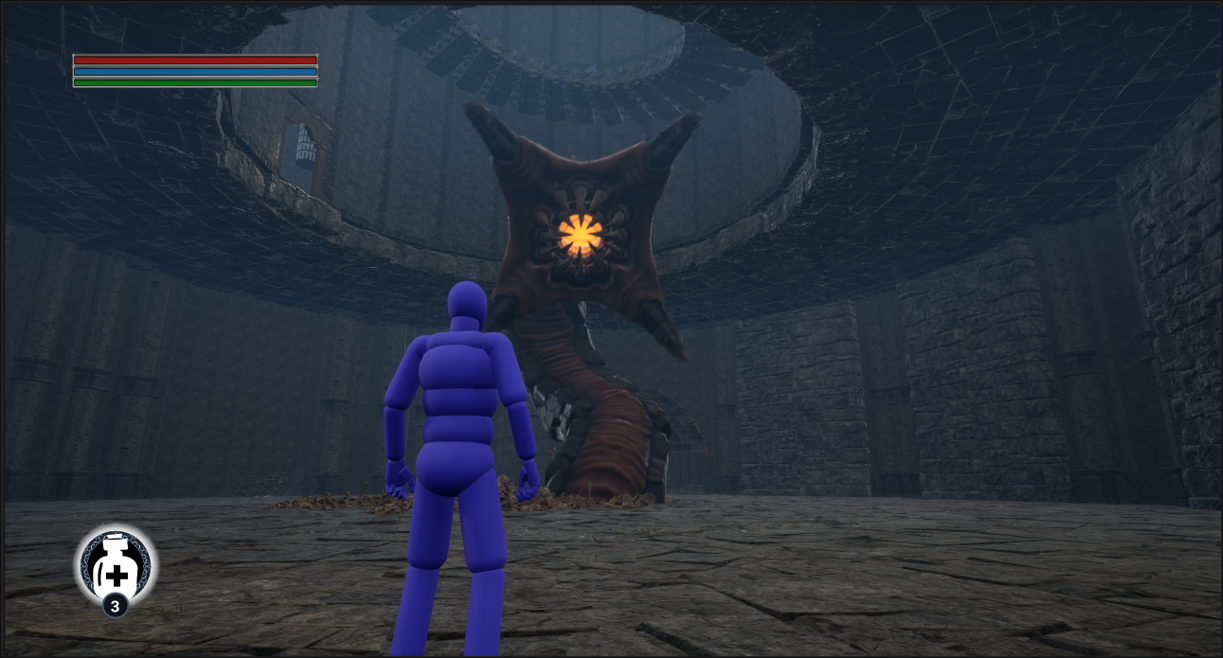
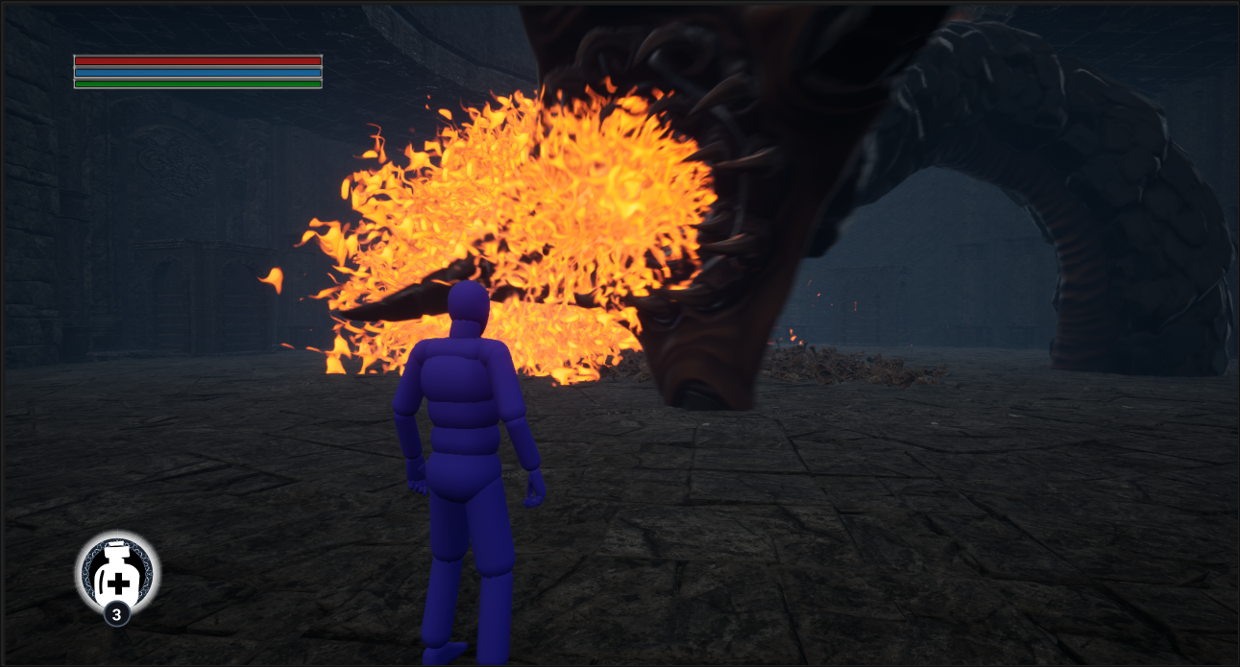
On the bottom level, the giant worm has several special attack patterns: it lunges at the player from underground, bites fiercely at the player’s location, sprays venom in the player’s direction, and slams the ground with its body. Players can evade these attacks by blocking or rolling, and after each attack, there is a brief vulnerability window during which players can cause damage. The worm’s most vulnerable spot is the core on its back, and attacking this area deals significant damage. However, the worm actively avoids exposing its back, so players must seize opportunities during the attack intervals.
In the second phase, the worm primarily uses two attack patterns: lunging at the player with its gaping mouth and twisting its body to collide with the player. Players can avoid these attacks by hiding behind undamaged obstacles or luring the worm into colliding with surfaces that contain sharp objects, dealing substantial damage. As in the first phase, there is a vulnerability period after each attack, and the core on the worm’s back remains its weakest point, allowing players to counterattack.
